The Only Monthly Mac Blog That Matters…

Tag: apple

Storing and Organizing Your Digital Photos! Part 1
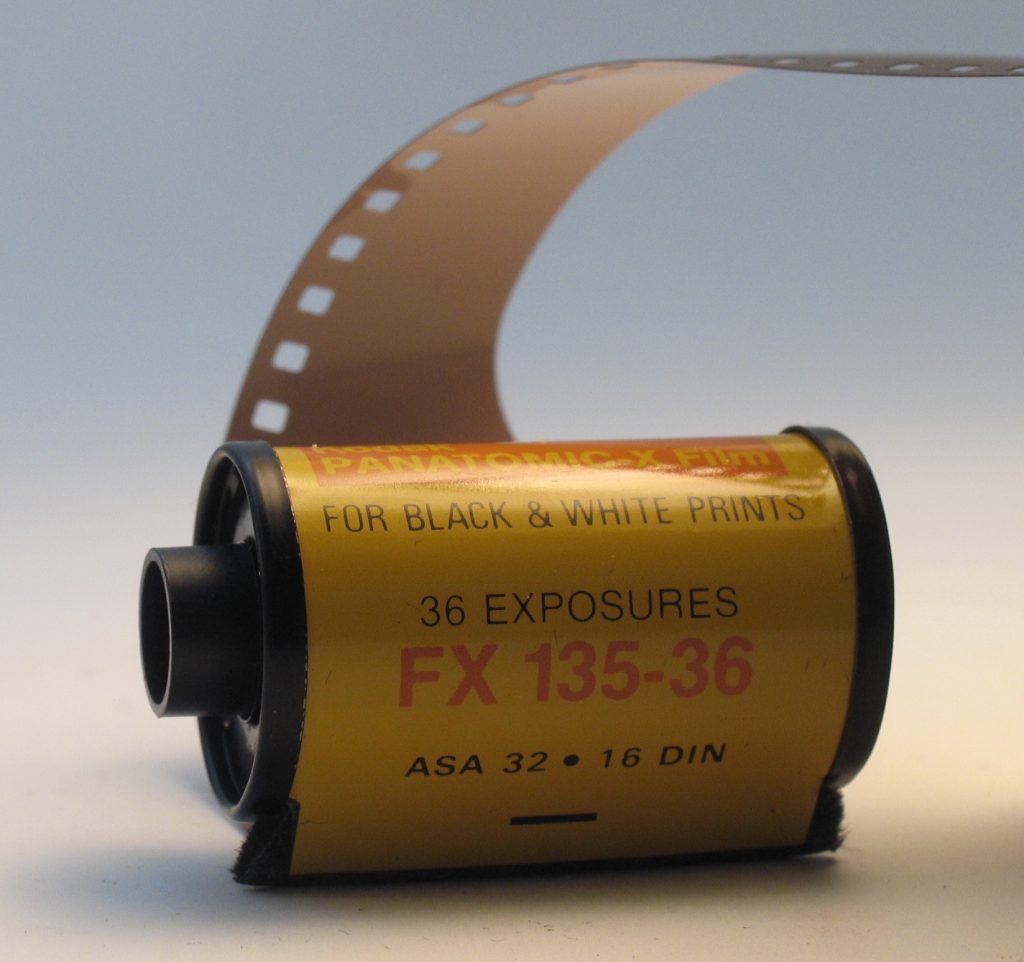
Those were the days!

Yes, the days of buying actual film for your camera, snapping some pictures, and sending the roll to Mystic Color Labs (and eagerly awaiting the end result’s arrival in the mail) are long history. Today, it’s easy to take lots of pictures without the burden of the associated costs of the past. Want proof? Since January 1, 2018, I have taken 8233 photos and 340 videos. Would I have taken even 800 pictures in 1988? Doubtful. Highly doubtful.

Of course, I’m sure I could go back and delete the similar pictures and ones that are no longer valid, and I actually do that every once in a while, when I’m sitting at my desk waiting on hold with the insurance company. However, I’m pretty good at keeping my pictures organized – I have four different Photos libraries. The one containing 8000+ pictures IS my “current” Photos library; others include scanned photos from my past and one with my tickets and events.
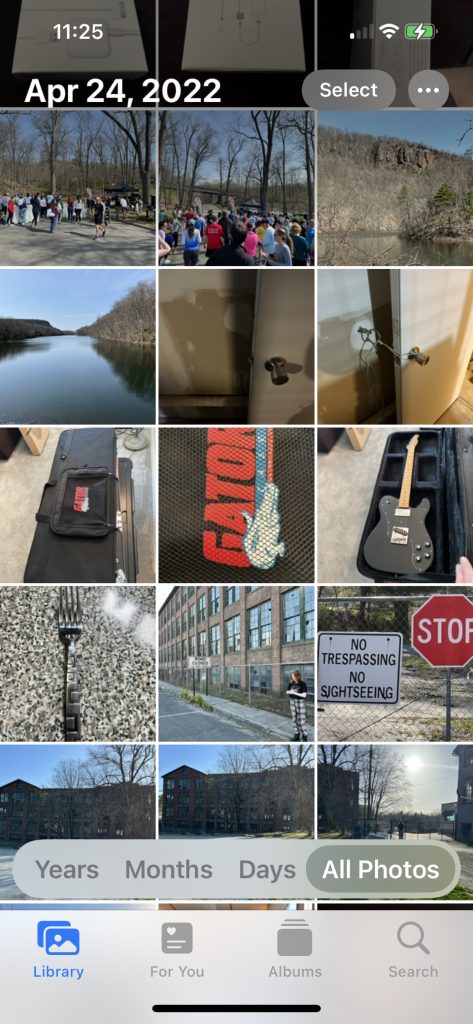
What’s on YOUR iPhone?

First things first – let’s get some terminology straight. PHOTOS is the name of Apple’s software that stores your digital photos. (A previous incarnation was called “iPhoto,” a product that is no longer supported by Apple and no longer works on recent OS versions.) A LIBRARY is a collection of photos, and within a library, you can have albums, which are ways to group pictures. A typical album name would be something like “Italy Vacation 2022” or a name that makes sense to you. In that album, you would only put pictures that meet those requirements.

Now, you can put any number of pictures into a library – but the bigger question that begs to be asked; “Do you really want to put all your pictures into one library?”

Maybe you do, maybe you don’t. So, the best way to handle things is to plan in advance how you want to organize your photos. If you want all your “legacy” pictures in one album and all your “current” pictures in another album, that’s cool. It’s all about how YOU want your digital media organized.

So, if you want to start an additional Photos library, do the following: Launch Photos while holding down the OPTION key. You’ll see a window appear that will ask you if you want to create a new library, open one that’s listed there, or choose another one that’s in a different folder on the computer.
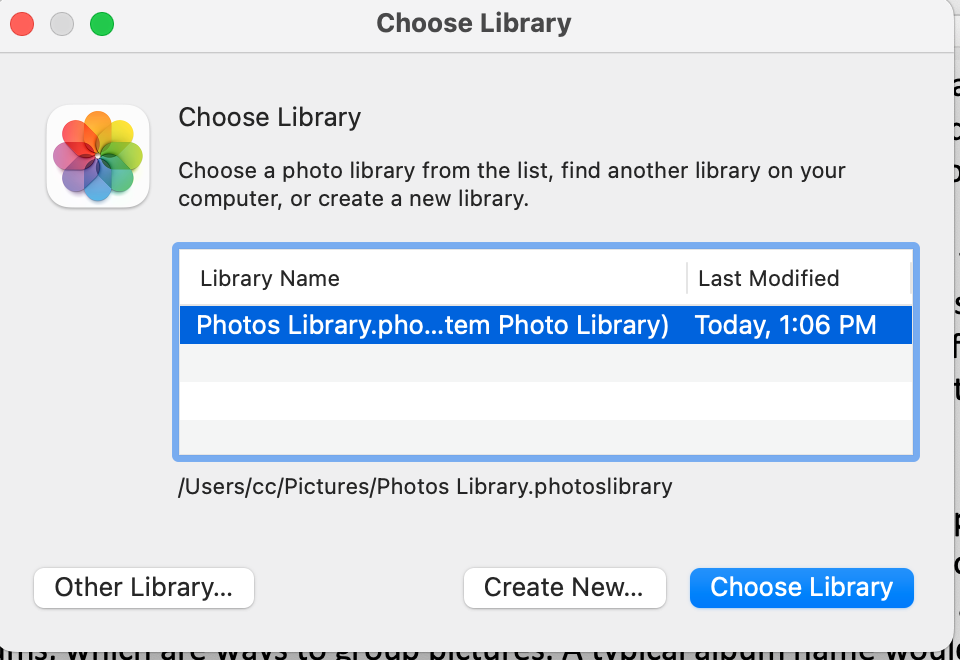
Here, you can choose which Photos library to open, or even create a new one.

Pro Tip: Name your Photos library with a name that makes sense to you. 

Photos, by default, will launch the last-opened Photos library, and will continue to do so until you tell it otherwise. To select another library, launch Photos with the OPTION key held down, as described above.

Remember – you are 100% in charge of what photos you include in your Photos library. Your computer doesn’t know which pictures are important to you – only you do – so you have to tell your computer which ones are going to be included. Saying something like “I want some of my pictures, but not the really old ones!” doesn’t mean anything to a computer. Decide which pictures you want in which album and show your Mac who’s the boss.

Next month: More Photos stuff, this time we’ll talk about backing up and iCloud!

Continue Reading

Zen and the Art of Email Maintenance

email

Last month, while working at a client site, I was checking my email while waiting for something to install on the client’s Mac. I casually deleted a couple of unread messages – Groupon and Macy*s – without reading, and was asked “how can you delete an email without reading it?”

There’s an easy answer; the Groupon wasn’t interesting to me, plus I can easily go to its site to see ALL of the offers, and I wasn’t planning on shopping at Macy*s this week. So BOOM – off they go into my Deleted Items. I’ve seen too many people with 10,000+ UNREAD messages in their inboxes – bad news! Not only does a loaded email box make things run more slowly, it takes up valuable hard drive space and can cause the mail program to bonk, sometimes resulting in the loss of many of those messages.

All through my years of working in the industry, whether it’s in a corporate IT environment, a tech writing job or just freelance, I’ve gotten pretty slick at keeping my inbox empty, or at least at a manageable level. I’ve come up with a few easy-to-implement tricks to keep things from spiraling out of control. Yes, it does take some work on your part – but spending a couple of minutes a day keeping things tidy is preferable to paying a professional big bucks to reconstruct your email.

In no particular order, here is a six-pack of tips to avoid being a digital hoarder:

#1) Establish a second email address for retail subscriptions, as well as other mailing lists.

Adding a second (or third) email account to handle mailing lists is a stellar idea, particularly now that we’re all using iPads and iPods to get our mail. This serves two purposes – it keeps our “real” inboxes free of non-essential messages, and because most of these mails are timely, it’s easy to delete them in bulk. I can’t begin to tell you how many users still hold onto J. Crew messages announcing a sale that expires in October 2011.

#2) Unsubscribe from all mailing lists and newsletters that aren’t important to you. (Except mine!)

Just be honest – if you don’t read an email soon after you receive it, it’s probably irrelevant anyway. And question if it’s even pertinent to your situation – if you’re on the Hilton Properties list because you stayed at one of its hotels recently, does any news from them have any bearing on what you’re doing now?

#3) Configure your email client to “Quote The Text Of The Original Message”

Having all of the previous email messages referenced in the current correspondence is another way to keep your inbox pared down. That way you need to save only the most recent message to have access to the entire string. In 99.9% of situations this is fine; however, in cases that require lawyers, documentation and court dates, you should save EVERY message! (In a dedicated folder, as described below.)

#4) Create separate folders for completed tasks.

If you need to save archive old email messages, store them in newly created folders to help clear out your inbox. Not only does this help keep your inbox neat and clean, it also helps your overall organization. Create as many of these folders as you need; you can organize them by sender, project or date.

#5) Create a “Pending Issues” subfolder to store messages that require action on your part.

The “Pending Issues” folder isn’t simply a storage bin to bulk offload messages from your inbox – think of it as a “to do” list for your action items.

#6) Be at peace with the fact that you’re NEVER going to read those old emails.

Human nature is funny – there are some things in life that everybody believes they possess; personal style, a sense of humor, good driving skills and excellent taste in music. Add one more – the belief that they’re someday going to read those old emails. It’s not going to happen. And the sooner they come to that realization, the better off mankind will be.

Continue Reading