April 26, 2022
Storing and Organizing Your Digital Photos! Part 1
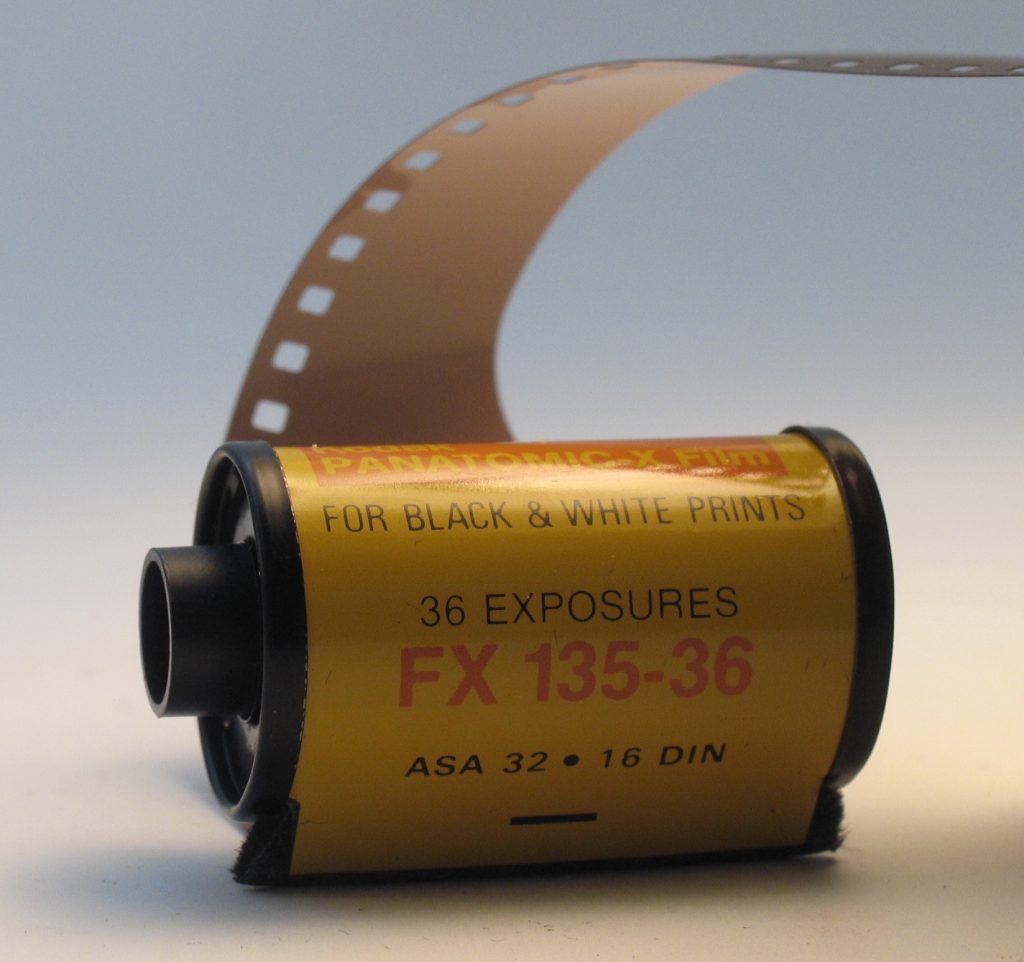
Yes, the days of buying actual film for your camera, snapping some pictures, and sending the roll to Mystic Color Labs (and eagerly awaiting the end result’s arrival in the mail) are long history. Today, it’s easy to take lots of pictures without the burden of the associated costs of the past. Want proof? Since January 1, 2018, I have taken 8233 photos and 340 videos. Would I have taken even 800 pictures in 1988? Doubtful. Highly doubtful.
Of course, I’m sure I could go back and delete the similar pictures and ones that are no longer valid, and I actually do that every once in a while, when I’m sitting at my desk waiting on hold with the insurance company. However, I’m pretty good at keeping my pictures organized – I have four different Photos libraries. The one containing 8000+ pictures IS my “current” Photos library; others include scanned photos from my past and one with my tickets and events.
First things first – let’s get some terminology straight. PHOTOS is the name of Apple’s software that stores your digital photos. (A previous incarnation was called “iPhoto,” a product that is no longer supported by Apple and no longer works on recent OS versions.) A LIBRARY is a collection of photos, and within a library, you can have albums, which are ways to group pictures. A typical album name would be something like “Italy Vacation 2022” or a name that makes sense to you. In that album, you would only put pictures that meet those requirements.
Now, you can put any number of pictures into a library – but the bigger question that begs to be asked; “Do you really want to put all your pictures into one library?”
Maybe you do, maybe you don’t. So, the best way to handle things is to plan in advance how you want to organize your photos. If you want all your “legacy” pictures in one album and all your “current” pictures in another album, that’s cool. It’s all about how YOU want your digital media organized.
So, if you want to start an additional Photos library, do the following: Launch Photos while holding down the OPTION key. You’ll see a window appear that will ask you if you want to create a new library, open one that’s listed there, or choose another one that’s in a different folder on the computer.
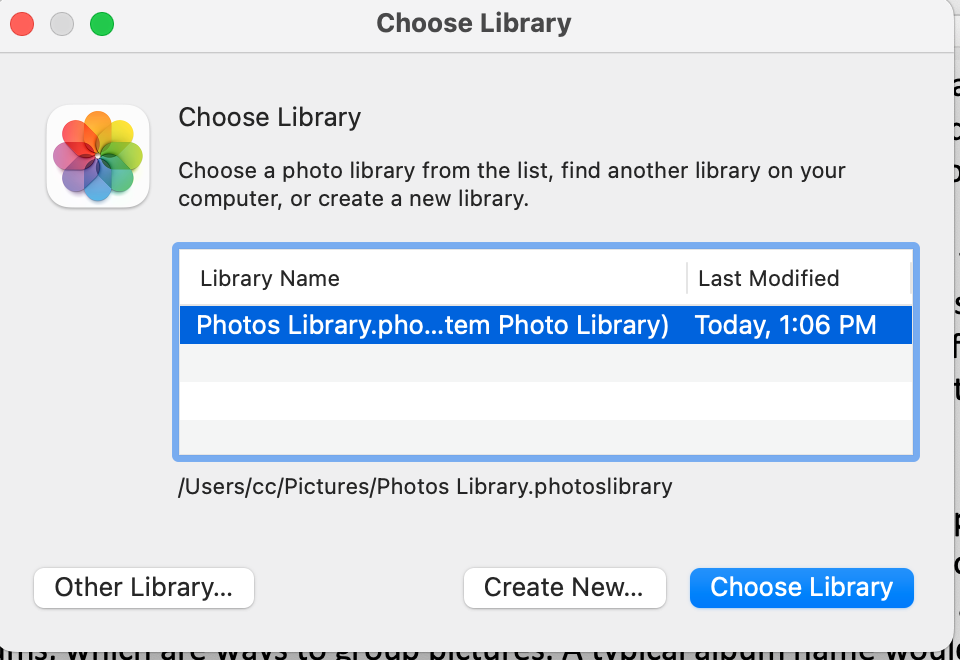
Pro Tip: Name your Photos library with a name that makes sense to you.
Photos, by default, will launch the last-opened Photos library, and will continue to do so until you tell it otherwise. To select another library, launch Photos with the OPTION key held down, as described above.
Remember – you are 100% in charge of what photos you include in your Photos library. Your computer doesn’t know which pictures are important to you – only you do – so you have to tell your computer which ones are going to be included. Saying something like “I want some of my pictures, but not the really old ones!” doesn’t mean anything to a computer. Decide which pictures you want in which album and show your Mac who’s the boss.
Next month: More Photos stuff, this time we’ll talk about backing up and iCloud!