September 22, 2020
A Few Wi-Fi and Internet Things Clarified…
One thing I hear a lot – “what is the difference between the internet and Wi-Fi?”

Yes, they both have to do with how you see all your Facebook friends arguing politics or how those crazy Zoom meetings work. And yes, for the most part, they both have to do with your internet provider – which means, for a lot of us, Optimum, the company formerly known as Cablevision. (And the company formerly known for having decent customer support from its call center in Long Island.)
▶︎ Your takeaway from all of this (there will be a quiz later): Wi-Fi is simply a fancy name for wireless network. They’re interchangeable. It’s a wireless router that creates the wireless network. If you have Wi-Fi in your home or office, then you have a wireless router.
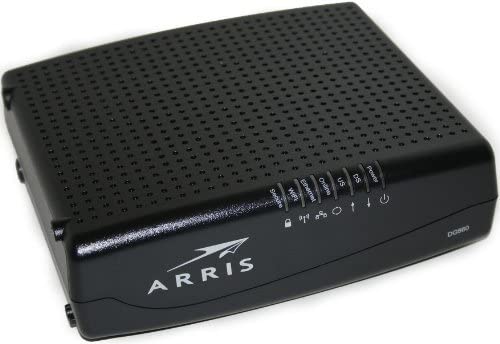
But, let’s start with your cable modem. For the most part, a cable modem is a black box with three wires coming out of it (unless your cable company provides your landline phone, then all bets are off). One is the power cord – it’s what plugs into the wall (or surge protector), so that’s easy to differentiate. The second wire is the line from the outside world into the modem, a round coax cable. The third wire (Ethernet) is what connects your Wi-Fi router to the modem.
So, let’s look at the world in two groups; what’s on the OTHER side of your cable modem (the entire internet, the world wide web) and what’s YOUR side of your cable modem (your Wi-Fi network).
One more time: On the OTHER side of the cable modem is where all the other computers, servers and cloud-based stuff in the world live. On YOUR side of the cable modem, that’s your own private club where only your devices (computers, iPhones, iPads, printers, streaming media devices, smart TVs, etc.) are members.

Your Wi-Fi network also has a name. Like your children, it has the name you gave it (unless you used the default name that came with the router – boring!). It also has a password to keep out the riff raff. But in order for devices connected to your wireless network to be able to communicate with the internet, you MUST have a working modem and valid internet service.
A couple of things to remember:
- Just because you have a working Wi-Fi network, that does NOT mean you’re necessarily connected to the internet.
- Unless you’re using the wireless router that your cable company provided you with, it has no interest in helping you resolve your Wi-Fi issues.
- If you are using a wireless router that your cable company provided you with, chances are it’s not a very good one.
Of course, there’s a lot more to this – things that will confuse you. Like Optimum Wi-Fi hot spots (they’re putting free Wi-Fi out in public places – as long as you’re an Optimum customer) and new-age things like its Altice TV service, where the cable box is also a Wi-Fi router (and not a very good one at that). All subjects for another day!