May 16, 2018
How to Untangle Your Browser From the Grips of Facebook
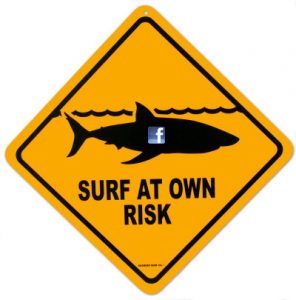
Have you noticed that once you join Facebook, suddenly every other site you visit knows who you are? You surf onto CNN, and not only does the site know you, it tells you which articles your Facebook friends are reading.
Scary, isn’t it?
Welcome to the world of Web personalization, a place where Web marketers know your name. (And your surfing habits, browsing history and more.) Click the “Like” button on any non-Facebook page and suddenly Facebook turns into Big Brother and knows more about you (and your preferences) than just what’s on your profile. And then you see an ad on Facebook, and your first thought is “I was just thinking of something like that!” Really, it’s because you just were LOOKING for something like that online. Truth be told – Facebook is only one of many culprits that compromises your online privacy.
So exactly how do you keep every site from being linked to Facebook? There are a few different ways to keep other sites from accessing your Facebook profile, some more complex than others.
The easiest way is to use a dedicated browser for your Facebook purposes only. Even if you regularly use Safari and Firefox, you still have other browser options, namely Google Chrome and Opera, so it’s possible to keep your Facebook activity restricted to one browser. Cnet.com has a link to all of these browsers (and more) here.
There are more involved ways to disable the social plugins that Facebook integrates with your browser, including this great piece on ThoughtPick. For a more world-weary view, check out LifeHacker’s take on the situation.
Bottom line: Web privacy and tracking is a huge deal on both sides of the fence – both for marketers and privacy advocates, and neither faction has any intention of going away anytime soon.
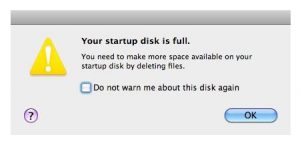
 High Sierra (Mac OS X.13) has arrived! Actually, it’s been in circulation for a few months – and, of course, Apple is hectoring all of us to install it. Sure, it seems like only the day before yesterday that Sierra was introduced, and now there’s a new one? Should you update it? What are the advantages and disadvantages?
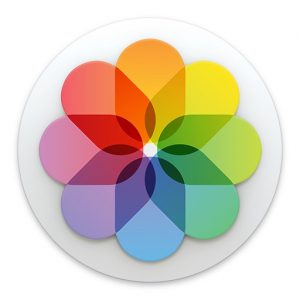 One thing I deal with a lot is the issue of photo organization on the Mac. By 2017, most users have migrated from the no-longer-supported iPhoto to Photos and, for the most part, everything is copacetic. But what I do see – a couple of issues.
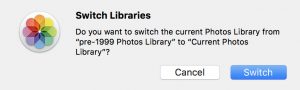
 There are currently some high-profile stories in the news about alleged foreign hackers who claim to have the ability to wipe out the contents of millions of iPhones and iPad worldwide.
 If you’re still using Microsoft