June 30, 2022
Knowing When It’s Time To Say Goodbye
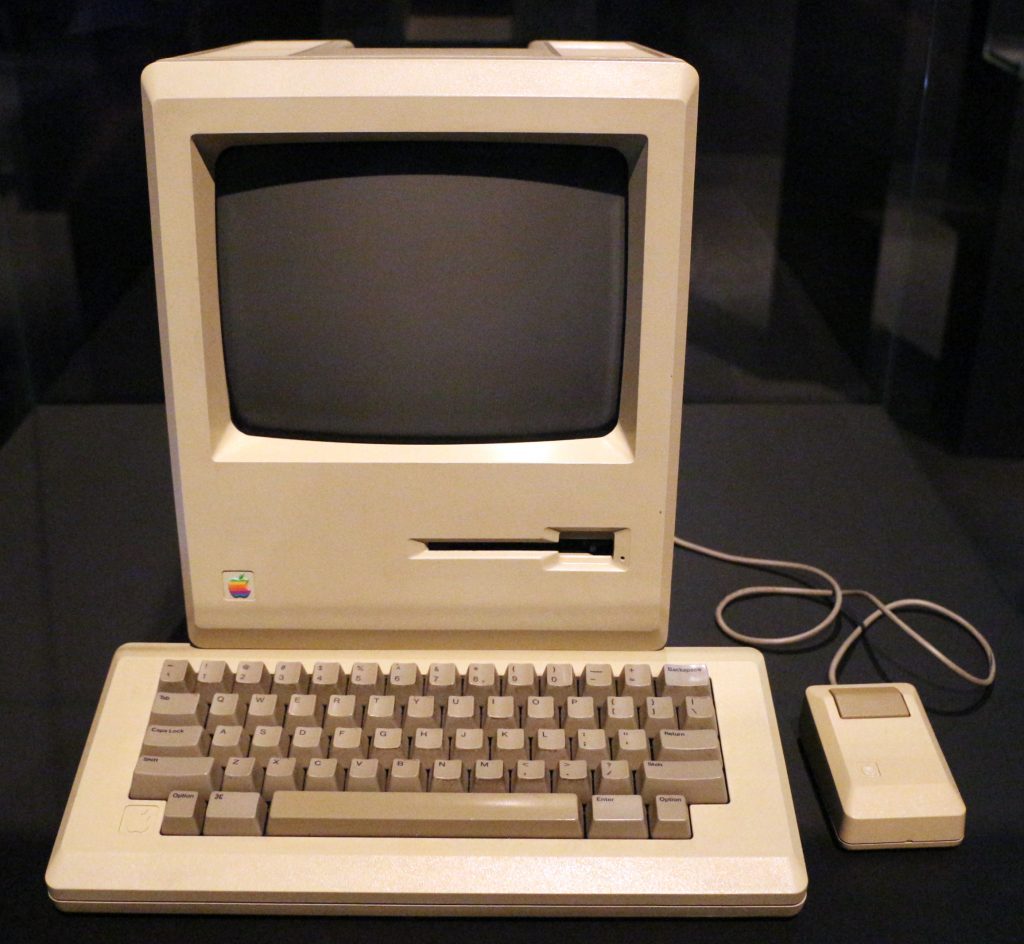
Yes, parting IS sweet sorrow (to paraphrase old Billy), but then again, we shouldn’t grow too attached to inanimate objects – like computers. Yes, I understand (more than most mere mortals) the importance they have to your life and/or work, but remember, computers like cars, are a depreciating asset. After a while, old computers, even when they’re serviced, work on a “this is as good as it gets” type of thing. So, if you want to have good working computers, you’ll have to upgrade your hardware every few years.
What I’ve noticed: That a lot of these “recent” Macs (say circa 2015) are simply not working as well as they used to be. In some instances, it’s because of the newer Apple OS could be overwhelming the hardware. (There are all sorts of theories out there about Apple intentionally slowing down older models with its updates.) Apple gives seven years as the workable lifespan for Macs; laptops (MacBook, MacBook Pro and MacBook Air models tend to have a harder life, and don’t typically last as long as their desktop counterparts.)
Another issue that rears its ugly head; newer versions of software (and operating systems) start to be flaky (or end up not working at all) on older Macs. Sure, you can hold off for as long as you can, despite Apple’s hectoring you to upgrade), but there are often issues. You might get stuck trying to log onto secure sites (banks, etc.) with older computers that run legacy versions of browsers (Safari, Firefox, Google Chrome, etc.) and other dopey things might not work anymore.
And, yet another problem with that generation of Macs; Apple no longer lets users (easily) upgrade components, so the days of swapping out a hard drive for an SSD or upgrading RAM are all a pleasant memory. That said, I see plenty of circa 2007 iMacs and MacBooks out there, working fine. Maybe not for high-stress tasks, but for normal day-to-day stuff, like word processing and email. At least you can use that old computer as a “station car.” One more advantage of older computers – you can save a few bucks by not having to subscribe to Office 365 or Adobe Creative Cloud on those old timers.
May 23, 2022
Storing and Organizing Your Digital Photos! Part 2

OK, so now that. You’ve digested last month’s intro to Photos and how to create multiple libraries, here is the follow-up!
You’ve created a few different Photos libraries, each with its own theme or sense of purpose. There one with the old family photos you’ve scanned, one from a certain era in your life, another strictly for vacations and finally, one with all your current photos in it. But now that you’ve done all that, what is the “real” library? Which one, if any, backs up to iCloud?
First things first, however. Apple is constantly hectoring you to enable iCloud, so your photos are backed up on the cloud. Not a bad idea but doing that comes with some baggage. If you have multiple (meaning more than one) Photos Libraries, you’ll have to designate one as your “System Photo Library,” which means that’s the one that’s backed up to iCloud (if you choose to walk that road) and its the “dominant” one.
To dictate which Photos Library is your System Photo Library, launch Photos, and pull down on the PHOTOS menu (upper left corner of the screen) and select PREFERENCES. Click on the GENERAL tab and once there, you can decide which of your Photos Libraries will be the System Photo Library. That will be the one the one that syncs to iCloud (if you choose to) and those will be the same photos that you see on your iPhone (again if you choose to do that). Me, I don’t sync my iPhone photos to iCloud – I don’t feel the need to have thousands of pictures in my pocket at any time.
So – what happens to your other Photos Libraries?
By now you’ve figured that ONLY the System Photo Library is backing up to iCloud. So, if your computer dies, and you log on to iCloud with a new computer, only those photos will be recovered via iCloud. So, you’ll have to be proactive and do some work on making sure the others are taken are of.
The remaining Photos Libraries will have to be backed up manually, either using Time Machine, copying them directly to a hard drive, or even using a service such as Carbonite. The good news that most of these types of Photos Libraries don’t change, so it’s not a constant backing up process. I recommend a combination of backups, both a “drag and drop,” along with a Time Machine and a commercial service if you wish. The issue of trying to recover a large Photos Library from Carbonite is like trying to fill a swimming pool with a garden hose. It will eventually do it; it’ll just take forever.
April 26, 2022
Storing and Organizing Your Digital Photos! Part 1

Yes, the days of buying actual film for your camera, snapping some pictures, and sending the roll to Mystic Color Labs (and eagerly awaiting the end result’s arrival in the mail) are long history. Today, it’s easy to take lots of pictures without the burden of the associated costs of the past. Want proof? Since January 1, 2018, I have taken 8233 photos and 340 videos. Would I have taken even 800 pictures in 1988? Doubtful. Highly doubtful.
Of course, I’m sure I could go back and delete the similar pictures and ones that are no longer valid, and I actually do that every once in a while, when I’m sitting at my desk waiting on hold with the insurance company. However, I’m pretty good at keeping my pictures organized – I have four different Photos libraries. The one containing 8000+ pictures IS my “current” Photos library; others include scanned photos from my past and one with my tickets and events.

First things first – let’s get some terminology straight. PHOTOS is the name of Apple’s software that stores your digital photos. (A previous incarnation was called “iPhoto,” a product that is no longer supported by Apple and no longer works on recent OS versions.) A LIBRARY is a collection of photos, and within a library, you can have albums, which are ways to group pictures. A typical album name would be something like “Italy Vacation 2022” or a name that makes sense to you. In that album, you would only put pictures that meet those requirements.
Now, you can put any number of pictures into a library – but the bigger question that begs to be asked; “Do you really want to put all your pictures into one library?”
Maybe you do, maybe you don’t. So, the best way to handle things is to plan in advance how you want to organize your photos. If you want all your “legacy” pictures in one album and all your “current” pictures in another album, that’s cool. It’s all about how YOU want your digital media organized.
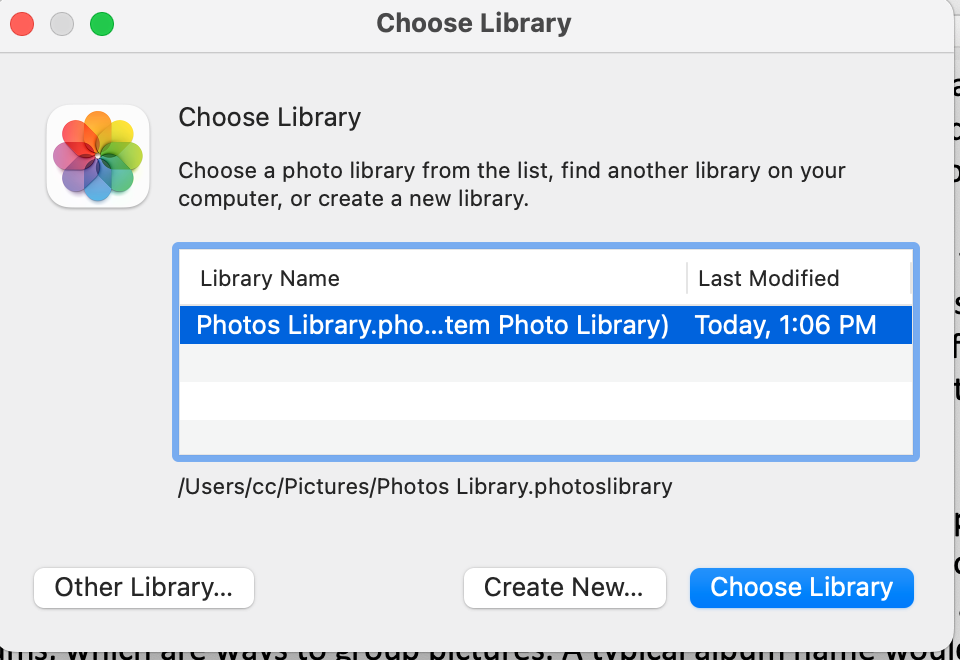
So, if you want to start an additional Photos library, do the following: Launch Photos while holding down the OPTION key. You’ll see a window appear that will ask you if you want to create a new library, open one that’s listed there, or choose another one that’s in a different folder on the computer.
Pro Tip: Name your Photos library with a name that makes sense to you.
Photos, by default, will launch the last-opened Photos library, and will continue to do so until you tell it otherwise. To select another library, launch Photos with the OPTION key held down, as described above.
Remember – you are 100% in charge of what photos you include in your Photos library. Your computer doesn’t know which pictures are important to you – only you do – so you have to tell your computer which ones are going to be included. Saying something like “I want some of my pictures, but not the really old ones!” doesn’t mean anything to a computer. Decide which pictures you want in which album and show your Mac who’s the boss.
Next month: More Photos stuff, this time we’ll talk about backing up and iCloud!
March 21, 2022
Time For Some Spring Cleaning!
Yes, even your computer needs some spring cleaning! But where to begin?
Like real-world spring cleaning, sometimes it’s an overwhelming task that doesn’t have any clear entry point. Simply looking at hard disk space, email, photos, bookmarks, cookies, and cache, etc. makes it easy to put it off. Yet, there are some physical limitations that may be compromised if you don’t a little time to handle this task now.
So – I’ve found the easiest way to handle this non-fun task is to break it up into smaller chunks, and handle one thing at a time. Of course, once you finish, making the effort to do it more often will make it more palatable and less of a task.
First of all, the best way to start is reclaim space on your hard drive (a.k.a internal storage). The places to clean out are all inside your HOME folder:
• Documents Folder: This is a place where, well, your documents are stored. A lot of old documents may be in there. A big space hog is the MICROSOFT USER DATA folder. If you haven’t kept up with things, this folder may be huge. BUT – don’t throw out the entire folder! You’ll want to throw out the Office 2008 Identities and Office 2011 Identities (or even the Office 2004 Identities folder if you’ve been slacking) ONLY if you’re using Office 365.
• Downloads Folder: This is the repository of stuff you’ve downloaded. Usually, it contains photos sent to you and statements from banks and credit cards. But – it also contains the installers you’ve downloaded when you’ve put new programs or apps on your Mac – Google Chrome and Zoom, among others. You can toss out the installers – the software is already on your computer. And delete any pictures and/or statements you don’t want to save.
• Pictures Folders: If you’re now using PHOTOS, you may have a derelict iPhoto library languishing in your pictures folder. IF you’ve updated to Photos, that iPhoto library is only taking up space. Plus, there may be some scans that have saved to that folder. You can weed through those and delete what is no longer relevant.
• Library Folder: This is going where angels fear to tread. The Library folder is a hidden folder for a reason. Mess with the wrong directory and it’s big trouble. BUT – if you dare, there are a couple of places to check out. First of all, the CACHES folder. You can toss everything in there (but NOT the folder itself) – and quite often that helps speed up the computer. Also, in the APPLICATION SUPPORT folder, there’s MOBILE SYNC. That folder contains backups of iPhones and iPad that have been backed up to that computer. Unfortunately, they’re not listed by name (only by a series of random numbers), so you can’t see “which” devices are backed up there, but by the “date modified,” you can make an accurate assertion of whether it’s a current device or one that’s long gone.
And, of course, don’t forget to empty the trash (pull down FINDER menu and select EMPTY TRASH) after you’ve done all this.
As far as email goes, check out my blog post on that subject HERE.
February 15, 2022
The Best Way To Buy A New iPhone (In These Uncertain Times, Anyway…)
Are you looking to buy a new iPhone?

Yes, it’s a bit tougher in these COVID-19 times, because getting to the store is more of a chore then it’s been in the past and supply chain issues might make the wait a bit longer than it should be, but there’s really nothing that any of us of can do about that right now.
Of course, there are always offers from your wireless carrier (like the one to the left from AT&T) that come and go quickly, so that’s one option. (More on that below.)
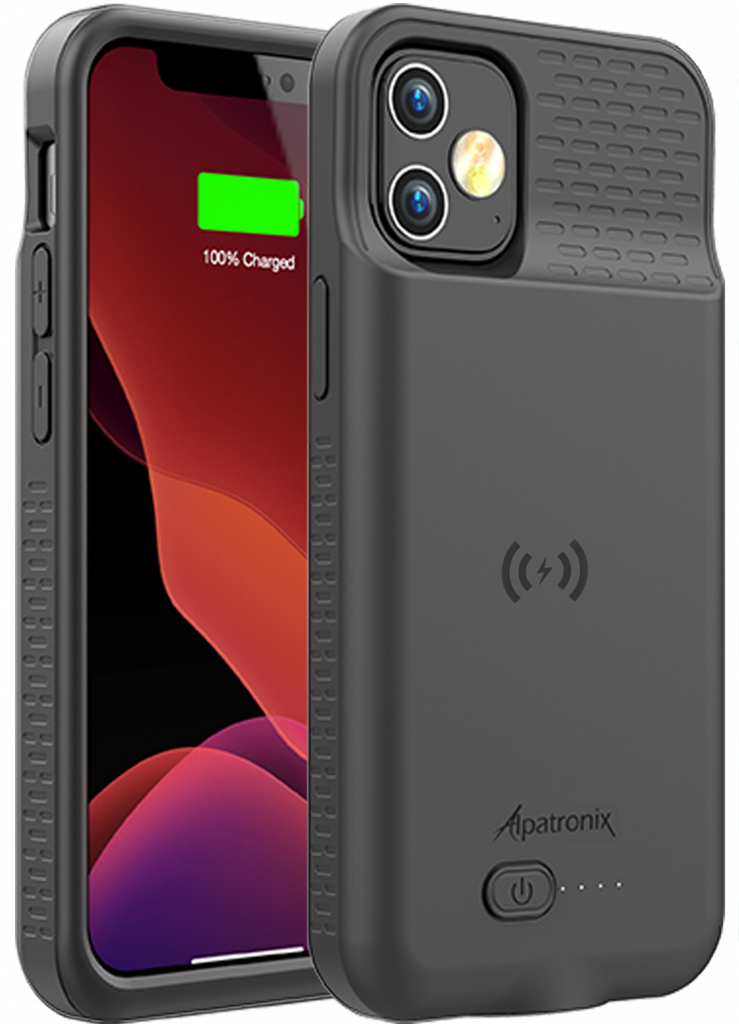
OK, here’s a few things to consider: First, decide what model you want. Again, a tough one if you don’t feel like shopping in person, but this is more a matter of what physical size you’ll be comfortable with. Today’s models range from the SE’s 4.7″ screen (measured diagonally) to the 13 Pro Max’s whopping 6.7″ screen. If you don’t want to go into a store and see how each model feels, find somebody who has an iPhone you like the size and feel of and go from there. And then there’s the choice of internal storage i.e. how much stuff you can actually carry around with you. Plus, there’s the color, which shouldn’t really matter much, because the majority of the iPhone will be obscured by a protective case.
How much capacity do you need?
Well, that depends on what you like to keep on your iPhone. Lots of music and podcasts? Photos galore? Do you like to keep your text messages forever? Then go for the larger capacity. A good rule is to decide how much space you need on your iPhone, and then bump it up to the next level. Or the one above that.
Where do you buy it?
Apple’s site is a great place to start, but it’s not the only game in town. There’s also Best Buy (which is an authorized Apple dealer) which sells iPhones (and other Apple products) at the same price that Apple does. And then there’s your wireless carrier – AT&T, Verizon, Sprint, et al. Those companies constantly have promotions going on for new iPhones, some of which involve trading in your old model and some that require paying for the new phone in installments and some that do both. Which can be a pain in the neck, but sometimes that’s how they do it. As is my advice for most of your tech spending, doing your homework to see what type of plan best fits your needs, budget, and personality, is key.
Oh yes, Optimum has a cell plan, but personally, I don’t think I would trust it to handle my cell service…
January 17, 2022
Bookmarks: Adding, Subtracting and Editing Them

Browser bookmarks (also known as “Favorites”) are a way to save (and to quickly launch) oft-referenced websites. It’s a great time-saver and no matter what browser you use (Safari, Firefox, Google Chrome, Opera or one of the more obscure ones), dealing with your bookmarks is a simple task. But – like a lot of things in life, if you don’t actively manage them, things can get out of control very quickly.
The biggest problem with bookmarks is the overabundance of them paired with the lack of organization. Take Firefox, for example. By adding a bookmark (Command-D), it drops your latest addition to the bottom of the list – and depending on how many you’ve previously added, it could be harder to find than Jimmy Hoffa.
To keep your bookmarks list tidy, you must delete and/or organize them once in a while. Every major browser makes it easy to lose your unwanted bookmarks; also, there are ways to organize them to shorten the list and to keep similar ones together. The best way to keep your bookmark list spiffy is to create folders within your list.
Adding a bookmark is the same in all the major browsers – for example, Command-D adds a bookmark in every one of the big four (Safari, Firefox, Google Chrome and Opera). However, adding a folder is a slightly different process, depending on your browser.
To be able to see (and edit) your bookmarks, pull down on your browser’s BOOKMARK menu:
• In Safari: “Show All Bookmarks”
• In Firefox: “Show All Bookmarks”
• In Chrome: “Bookmark Manager”
• In Opera: “Manage Bookmarks”
Once you’re able to see all your bookmarks, you can now create folders to help organize your bookmarks:
• In Safari: Click on “Bookmarks Bar” (in left sidebar) and then click the plus (+) icon at the bottom f the bookmark list
•
• In Firefox: Pull down on “gear” icon and select “New Folder”
•
• In Chrome: Pull down the “Organize” tab and select “Add Folder…”
•
• In Opera: Click on the “Add” tab and select “New Folder…”
To delete bookmarks:
In all browsers, simply highlight the bookmark you want to eliminate and hit the “Delete” key on your keyboard.
December 21, 2021
Talking iPhone Storage Blues
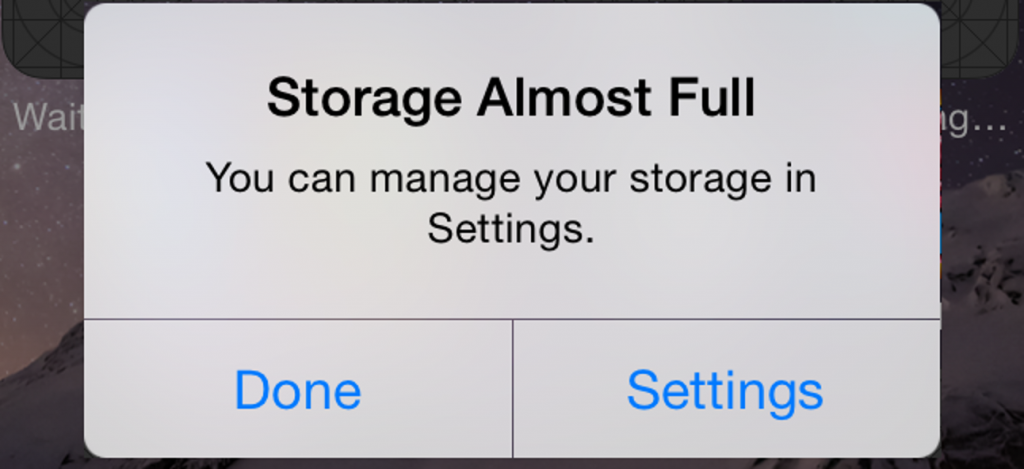
Have you seen this message on your iPhone? (Or a similar one on your iPad?) Are you worried about the ramifications of this? (Yes, you should be!) Are you doing something about this? (Same answer applies.)
This message is all about the physical storage inside your iPhone. Which is different than your iCloud storage, something that is related and often confuses users. But let’s break this down to the lowest common denominator. When you bought your iPhone, it came with a finite amount of storage. Some early models came with a Scrooge-like 8 GB of internal storage (hopefully, you’re not using an iPhone that old!), though more recent models come with a minimum of 32 GB. This internal storage is what I’m talking about here.
Yes, there ARE methods to help you avoid (or remedy) this situation. A few quick tips to fix this:
Photos (tap SETTINGS > PHOTOS): If you’re using iCloud for your pictures, then you might be able to save some space there. For one, turn off “Download and Keep Originals” on your iPhone. Why? Because you don’t need to keep the originals on your phone – smaller, space-saving photos (and videos) will reside on your phone, with the high-resolution versions safely stored “on the cloud” and backed up on your computer. (You DO back up your computer at home and/or the office, right?)
Another Photos tip: Consider if you REALLY need to have EVERY photo you’ve ever taken on your iPhone. (Quick answer: You don’t!) If you want to have only the most recent 1000 (or so) pictures you’ve taken, turn off iCloud Photos on your phone and enable “My Photo Stream.” And if you DO need some legacy photos, you can create albums in your Photos application on your Mac and sync only those photos. And needless to say – deleting unneeded photos and videos on your iPhone will work wonders. (Just remember, in Photos, tap ALBUMS > RECENTLY DELETED and tap SELECT > DELETE ALL.) Say goodbye to those space hogs.
Messages (tap SETTINGS > MESSAGES): Yes, I understand we all live (and die) by the text today, but do we REALLY need to save every text forever? (No, we don’t!) So, in order to lighten the load on your iPhone’s storage, change from FOREVER to 1 YEAR or (better yet) 30 DAYS. You won’t die without these messages, trust me. And if they’re THAT important, they’ll stay on your Mac even if you delete them from your iPhone. (Assuming that they’re using the same Messages account.)
Apps: Deleting an app will not only save the space that the app itself occupied (which is negligible in almost every instance), but all the associated data with that app, which can be substantial. To delete an app – press down on the app that’s getting the boot and select REMOVE APP > DELETE APP. As mentioned, this expunges the data associated with the app, so if it’s something you’ve logged into, you’ll have to re-download the app and sign in again. And if it saves data (like a game, for example), that data is gone forever.
Other things you can do to clean up your iPhone: Delete unused Notes and Voice Memos. Note that in nearly every instance, these items are synced to iCloud, meaning that if you delete them off your iPhone, they’ll be deleted from all of your devices. You can send them to your Mac using AirDrop, email or text. Simple solutions, all!
November 16, 2021
Are You Using Yesterday’s Wi-Fi Today?
Has your wireless network (Wi-Fi) hardware been sticking around a little too long? When was the last time it was refreshed? In case you haven’t gotten out much lately, the deal is that in 2021, “mesh” is the way to go!
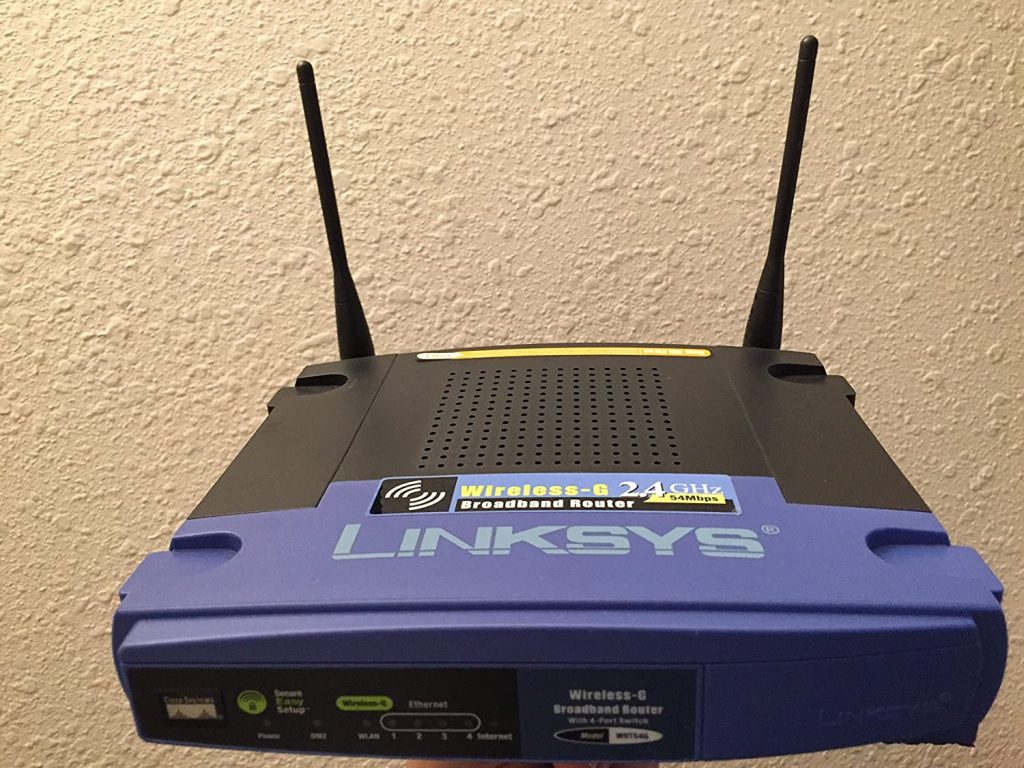
Don’t know what a mesh network is? Find out here! Now – with more work-at-home/school-from-home business happening, a stronger, greater-covering wireless internet connection is mandatory.
OK, so what’s involved in getting a mesh network? Is it complex? Hard to set up? Will it work with all my stuff? Does Apple make a mesh Wi-Fi? (Sorry, Apple is no longer in the networking game…)
In short, yes, it will work with your stuff. Unless your stuff includes an Ethernet-connected printer that’s old, maybe a couple of decades or so. And the mesh system replaces all your existing network hardware, routers and extenders. Everything except the modem.

Buying a mesh Wi-Fi network is easy – all of the big retailers stock them. There are a number of brands – and so far, all of them seem worthy and reasonably simple to set up. That’s because the way they’re configured – is by downloading an app to your smartphone. Yes, it’s simple enough (so says the tech guy!) – but there are a couple things to know:
The average mesh network covers around 3000 – 4000 square feet – so larger houses should get a model with greater coverage.
You have to reconnect EVERY device that’s attached to the internet to the new network. That includes phones, tablets, streaming media players, smart TVs, Sonos units, alarm systems and such.
October 13, 2021
What To Do When Your Wi-Fi Isn’t Working!

It happens all the time – I’ll get a call – “my Wi-Fi isn’t working!” And, of course, it comes at the most inopportune moment – before a deadline, a looming Zoom call, etc.
But let’s stick with first things first. Let’s differentiate Wi-Fi from internet connectivity. The internet is a large computer network that enables communication between devices. To be connected to the internet at your home or office (or home office), you need a “provider” – a company that connects your building to the rest of the world. In most cases around here, it’s Optimum (formerly Cablevision), but it could be Xfinity, Frontier or a number of other companies.
Now Wi-Fi. Wi-Fi is a type of computer network, but instead of wires connecting the computer to other nodes, it’s all wireless. (For the record, Wi-Fi really isn’t short for anything.) Your Wi-Fi network (protected by a password) is your own private little network.
OK, so now you’re up to speed on that minor detail, and you can’t connect to the internet, there are four points that could be a trouble spot:
• Your computer
• Your wireless router
• Your modem
• Your provider
But now that I’ve introduced some new terms to you, let’s go over them.
Your MODEM is the hardware device that enables the internet cables (from the outdoor utility poles) to allow your home or office to access the internet. In most instances, the modem is owned by your internet provider, and they charge you a monthly fee – usually around $10 – for that privilege. (You do have the option to BYO Modem and save on that fee – but more on that in a future post.) However – unless you’re only using one computer that is hardwired to the modem, you’re going to need a router.
Your ROUTER is a hardware device that allows you to connect multiple devices (computers, smartphones, game consoles, streaming media players and smart TVs) to the internet. You can also connect Wi-Fi enabled printers to your network. Your router creates your own private network, and you need to enter a password on any device that wants to join it. Your router may have been supplied by your internet provider or you may have purchased your own. (If you have one of the mesh networks – then you’ve purchased your own!)
Note: The router supplied by your internet provider is usually subpar. Look into replacing it!
So – if you are unable to get on the internet, try to find exactly where the problem is.
First step: Check if your computer is able to see your local network. That’s the pie-shaped icon in the upper right corner of screen, to the left of the time. If your bars are gray, you’re not connected to your Wi-Fi network. If they’re black, you’re connected. (But click on the Wi-Fi icon to confirm you’re on the correct network.) Also know that even though your wireless network is working, you are not necessarily connected to the outside world.
Quick tip: If you can’t connect to your local network, try rebooting your computer. If you still can’t connect, go to the next step.
Reboot your router: Your router is connected to your modem using an Ethernet cable, which looks like a phone cord but is thicker. Unplug your router from its power supply (either from the router itself or from the wall), wait 30 seconds and then reconnect it. Wait until all the lights settle and attempt to connect again.
Reboot your modem: Same goes with the modem. Rebooting often cures what ails your network connectivity. Disconnect the power supply from the modem and wait for 30 seconds, then reconnect.
Another quick tip: If you’re finding your internet speed slow, reboot both your modem and router.
Couple of things:
- Some modems have a battery backup, so you’ll have to disengage the built-in battery. It has an easy-to-find clip on the side. Just make sure all the lights go out before replacing the battery and power cable.
- If you have telephone service through your internet provider (Optimum Triple Play, for example), any phone calls you’re on will be instantly disconnected once you power down your modem.
One last tip: This month, TWO clients have called about not being able to connect to the internet. In both instances, Optimum failed to process a payment (and didn’t give any warning about a pending termination of service), so consider that if you find you’re not connected.
September 17, 2021
Dealing With The September 2021 Apple Security Updates!
It’s been a big week in the world of Apple. Some good news, some bad.

It’s been a big week in the world of Apple. Some good news, some bad.
On Monday the 13th, a security flaw in Apple products was revealed; on Tuesday the 14th, it introduced its new products – iPhone 13, the new iPad and iPad Mini and the Apple Watch Series 7. All of which can be found here.
But more importantly, back to the security flaws. It’s scary stuff, but then again, we live in a world where the media is always pushing stories designed to keep us up at night – murder hornets, thousands of sealed indictments, a Mötley Crüe reunion and security issues ingrained within the devices we depend on the most.
To update your iOS (iPhone and iPad) device to the latest version (14.8), do the following:
Tap SETTINGS
Tap GENERAL
Tap SOFTWARE UPDATE
A couple of things to know: First of all, you must be connected to Wi-Fi (a private connection, like your home or work Wi-Fi is preferred); also, if your battery is at 50% charged or below, you’ll have to connect your iPhone or iPad to a charger. Expect the entire process to take 15-20 minutes.
To update your Mac, do the following:
Pull down on the apple in the upper left corner of the screen and select SYSTEM PREFERENCES. There, click on SOFTWARE UPDATE, and you’ll see what updates are available. Similar to the iPhone update, you must be connected to Wi-Fi and if you’re using a laptop, be connected to a power source.